Introduction: Your Journey into Miniature Felting
Needle felting is a captivating fiber art where barbed needles tangle wool fibers into dense, sculpted forms. Applied to miniatures, it yields incredibly detailed and endearing animals. Imagine turning soft wool into a tiny, tangible friend! This guide provides the fundamentals to start bringing your own miniature menagerie to life.
Gathering Your Felting Toolkit
Before you start poking, make sure you have these essentials:
- Felting Needles: Various sizes (gauges). Start with 36 (coarse), 38 (medium), and 40 (fine) gauge triangle needles. Star needles can grab more fiber.
- Wool Roving: Core wool (undyed, coarser) for building shapes and colored wool (Merino, Corriedale) for the outer layers.
- Felting Surface: High-density foam pad or wool mat to protect your needles and work surface.
- Finger Protectors: Leather or silicone thimbles are highly recommended to prevent pokes.
- Eyes: Small plastic or glass animal eyes (various sizes).
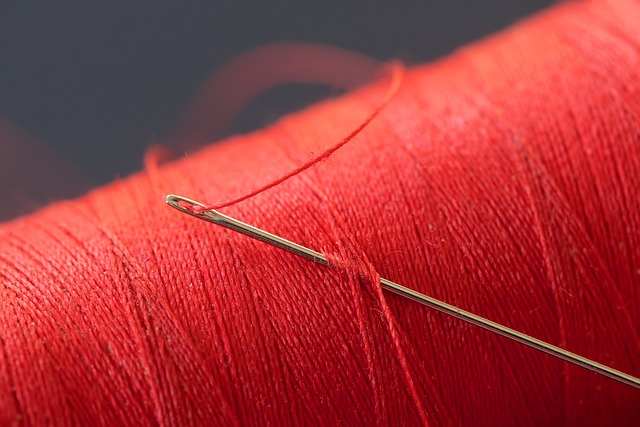
- Embroidery Floss/Thread: For adding fine details like whiskers, mouths, or securing eyes.
- Small Scissors: For trimming stray fibers.
- Optional: Multi-needle tool (speeds up felting large areas), Awl (for creating eye sockets).
Mastering Basic Needle Felting

The core technique involves repeatedly stabbing the wool with a felting needle. Think of it like sculpting – the barbs catch fibers, pulling them inward and tangling them. To create a basic shape:
- Prepare Wool: Pull off a wispy piece of core wool roving.
- Initial Shape: Roll or fold the wool loosely into your desired starting shape (e.g., a ball).
- Place on Mat: Position the wool on your felting surface.
- Start Felting: Hold the needle like a pencil. Stab the wool repeatedly with straight, up-and-down motions. Keep your fingers clear!
- Rotate & Shape: Turn the wool frequently as you felt, encouraging it to take shape evenly.
- Add Density: Continue stabbing until the wool becomes firm and holds its form. It should feel solid but have a little give.
- Build Up: Add thin layers of wool where needed, felting them into the base shape to increase size or refine the form.
Step-by-Step: Crafting a Simple Miniature Sheep
- Body Foundation: Start with core wool, felting it into a dense oval shape. Add layers of white wool over the core, felting until smooth.
- Head Shape: Create a smaller, slightly rounded shape for the head using the same core-then-white-wool method. Felt it firmly.
- Leg Formation: Roll four small, tight cylinders of white wool. Felt each one until firm.
- Ear Creation: Felt two small, flat oval shapes from white wool for the ears.
- Attaching Parts: Position the head, legs, and ears onto the body. Securely attach them by stabbing the needle repeatedly through the attached piece *into* the main body at the join area.
- Facial Details: Add tiny amounts of black or brown wool for the nose/mouth area, felting carefully. Create small indentations for eyes with your needle or an awl, then glue or sew in the eyes.
- Fleece Texture: Use a fine needle (e.g., 40 gauge) to gently poke and pull the surface of the white wool body, creating a soft, fluffy fleece-like texture. Avoid pulling fibers completely out.
Tips for Felting Success
- Start Simple: Master basic shapes (balls, ovals, cylinders) before tackling intricate animal forms.
- Layering is Key: Use core wool for structure, then add thin layers of colored wool for the surface. This saves expensive colored wool.
- Needle Choice: Use coarse needles (36g) for shaping, medium (38g) for attaching parts and refining shape, and fine needles (40g+) for surface details and smoothing.
- Patience Pays Off: Felting requires consistent poking. Rushing leads to loose, uneven shapes. Enjoy the meditative process!
- Learn Visually: Watch online video tutorials – seeing the techniques in action is incredibly helpful.
- Don't Fear Mistakes: Needle felting is forgiving. You can often add more wool or carefully pull sections apart (using needles or fingers) to adjust.
Adding Finishing Touches & Embellishments
Elevate your miniature animal with fine details. Use your finest gauge needle (40 or 42) to smooth surfaces, blend colors seamlessly, and add subtle contours like muscle definition or wrinkles.
Consider embroidery floss for delicate whiskers or claws. Tiny beads can become realistic eyes. You can even needle felt patterns like stripes or spots directly onto the base form. For more advanced projects, explore adding wire armatures for posable limbs before felting.
